Most of us might find it easier just to use the Clock app on our smartphones when cooking. But for some, using the clock on their GE stove or ranges might be more convenient, as they don’t have to worry about their phones getting dirty or wet in the kitchen. Over time, however, you can expect to run into some issues with the stove clock.
If your GE stove clock is experiencing problems, reset, or is not working, reset the clock by unplugging it for ten minutes. Sometimes, solving an issue might mean having to replace the control board or fuse. Or, you may need to disconnect some wires to solve timers that won’t stop buzzing.

When would you be required to use each of these fixes? And more importantly, how do you do these steps? To find out, read on!
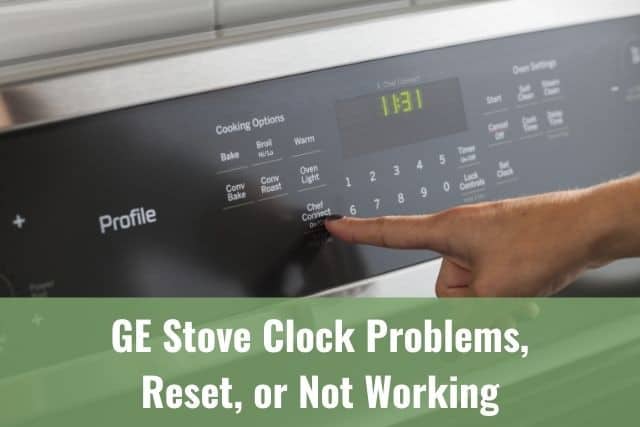
GE Stove Clock Not Working


There are times when your GE stove will act up, and it’ll be a nuisance. Sometimes, you can solve the problem with a quick tinker or simple solutions. Other times, you might need to have it repaired by a professional and certified technician. But you wouldn’t really be sure until you have first set the stove clock to the right time.
Set the Right Time
Setting the clock will help you determine if it’s working correctly or not. Depending on the stove or range you have, here are the different ways to do this.
LCD Touchscreen Clocks
First, wake up the screen by touching it and press “Settings,” and then tap on “Clock.” Doing this will show you a screen with directions on how to set your oven’s clock. Follow the steps that appear, and you can set the clock to the right time.
Electronic Models “Set Clock” or “Clock” Pads
Press on the “Clock” or “Set Clock” pad. You might need to press these pads twice, depending on the model that you have. Doing this will make the control board go into GE’s clock setting mode.
You can use either the + or – pads to set the time. On other models, it’s easier because you can just press the numbers to set the correct time. Then, press “Start” to set the right time.
Electronic Models Without the “Set Clock” or “Clock” Pad
If you have GE ovens that don’t have the “Clock” or “Set Clock” pads, you can push the + and – or 0 and 9 simultaneously. Push these pads down until the screen blinks, signifying that the clock is ready to be set.
Use the + or – to change the time. Or key in the right time using the number pads. Press “Start” to set the correct time.
Digital Clocks
If your GE stove has a digital clock, you’ll need to push the center knob that you see on the
minute timer. After that, you can turn the knob either clockwise or counterclockwise to set the right time.
Non-Electric Clocks
If your GE stove has a non-electric clock, you should:
- Push the center knob.
- Turn the clock hands in one direction to set the correct time.
If the minute timer moves when you do this, let the knob push out and then turn the minute timer’s pointer to the “Off” position. Now that you know how to set the time, you can start using your stove and learn more or less what to do when there’s a problem.
Some of the clock-related difficulties you may encounter are below.
Can’t Set Clock on GE Stove
A common issue when one can’t set the clock on a GE stove is due to it being in “Sabbath Mode”, a feature designed for those observing the Sabbath. To resolve this, refer to your stove’s user manual and follow the steps to deactivate Sabbath Mode. Once disabled, you should be able to set the clock as usual.
Another possible reason is a power interruption or surge. If there was a recent power outage or fluctuation, the stove’s settings might be reset, and the clock may not set immediately. Unplug the stove from the wall for a few minutes and then plug it back in. This can reset the system and allow you to adjust the clock.
The Clock Display Is Blank
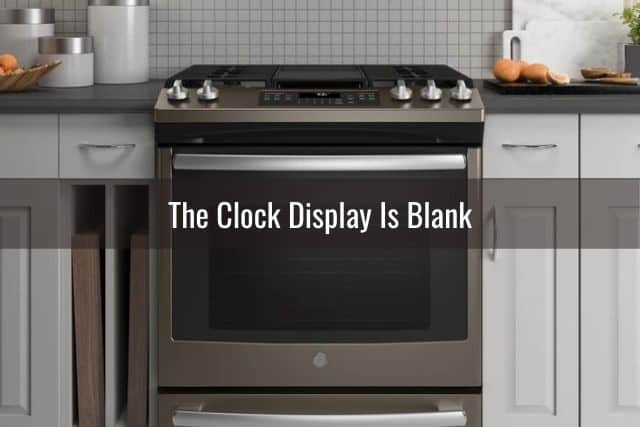

If you’ve set the clock on your oven, but it doesn’t show up on the screen, you can unplug it and then plug it back in after at least 30 seconds. Doing this will reset your range and allow you to set the clock again.
How To Reset GE Stove Clock
Here are the steps to set the clock:
- Press on the CLOCK pad.
- Using the + and – pads, you can adjust the clock by 10 minutes if you press and hold the appropriate buttons.
- To change the time by one minute, you can just tap on the appropriate pads (+ or -).
- Once you have the correct time, press CLOCK again to set the time.
You can set the oven’s clock on newer models by pressing 9 and 0 simultaneously until the time displayed becomes 12:00. After that, just key in the correct time by pressing the corresponding numbers and press start.
Clock Blackout
A variety of GE stoves and ranges have a feature called clock blackout, making it appear as if the clock isn’t working. To deactivate this feature, press “Clock” three times until the screen shows “Off.” After this, press “Start” to see if the feature has been released successfully
Blown Fuse
In older models, GE had fuses for their stove clocks. These fuses protected the clock as well as the appliance receptacle. You can find these fuses near the back burner, and you only have to replace them for the clock to work again.
Copyright protected content owner: ReadyToDIY.com and was initially posted on April 18, 2021.
You can choose products such as:
Alternatively, you can go to the nearest hardware store or grocery to get the replacement.
But before you buy the fuse, you should first check to see if the minute timer buzzes. If it does make a sound, and it’s not the fuse, you’ll need to replace the clock itself. In that case, get something like the GE Appliances Genuine OEM Control Board and Clock for Ranges.
Here are the steps on how you can replace the control board:
- Open the cover panel of the stove.
- Take the old control board out of the panel and take a photo of the wire connections. This way, you would know what wires go to which ports.
- Remove all the wires from the control board.
- Use a heat gun and heat up the overlay. Avoid burning holes into the overlay by moving the heat gun over it constantly.
- Peel off the overlay from the old control board.
- Put the old overlay over the new control board.
- Connect all the wires to the new control board.
- Replace the control board and screw it all in.
- Replace the cover panel and plug your stove.
If you still do not have a heat gun, you can choose from the following products:
Copyright article owner is ReadyToDiy.com for this article. This post was first published on April 18, 2021.
- EnerTwist Heat Gun Control Hot Air Tool Kit
- Heat Gun Chandler Tool Dual Temp Hot Air Gun
- SEEKONE Heat Gun Kit
GE Stove Clock Not Keeping Time


If your GE stove’s clock isn’t showing the right time, the problem might be due to the electrical surges affecting the clock’s software. Good news: this issue is relatively easy to fix.
Cut the power going to the stove and turn it back on after ten minutes have passed. Then, set the correct time when it turns back on.
GE Stove Timer Won’t Stop Buzzing


Another commonly encountered problem when it comes to GE stoves is that the timer won’t stop buzzing. If you have one of those old timers, all you have to do is to turn the knob all the way off to keep the buzzer or timer from buzzing.
However, this is a temporary solution, and the buzzer will sound incessantly when you use it again. Over time, it may not even work even when you get a pair of pliers and put the timer all the way to its “Off” setting.
If you have a digital timer, you’ll need to reset it by unplugging the stove and waiting for ten minutes to plug it back in. If it doesn’t work, you will need to replace the control board to stop the buzzing.
ReadyToDIY is the owner of this article. This post was published on April 18, 2021.
Final Thoughts
You can mostly solve problems with your GE stove clock with a reset. If that doesn’t work, there are easy workarounds you can do before calling a technician.